Deploy a Nextjs App using Terminal.co and IPFS
Overview
We’ll create a Next.js app using and deploy it with Terminal.co. This whole process should take 10 minutes.
Tools:
- Terminal.co account
- GitHub account
- node.js/npm
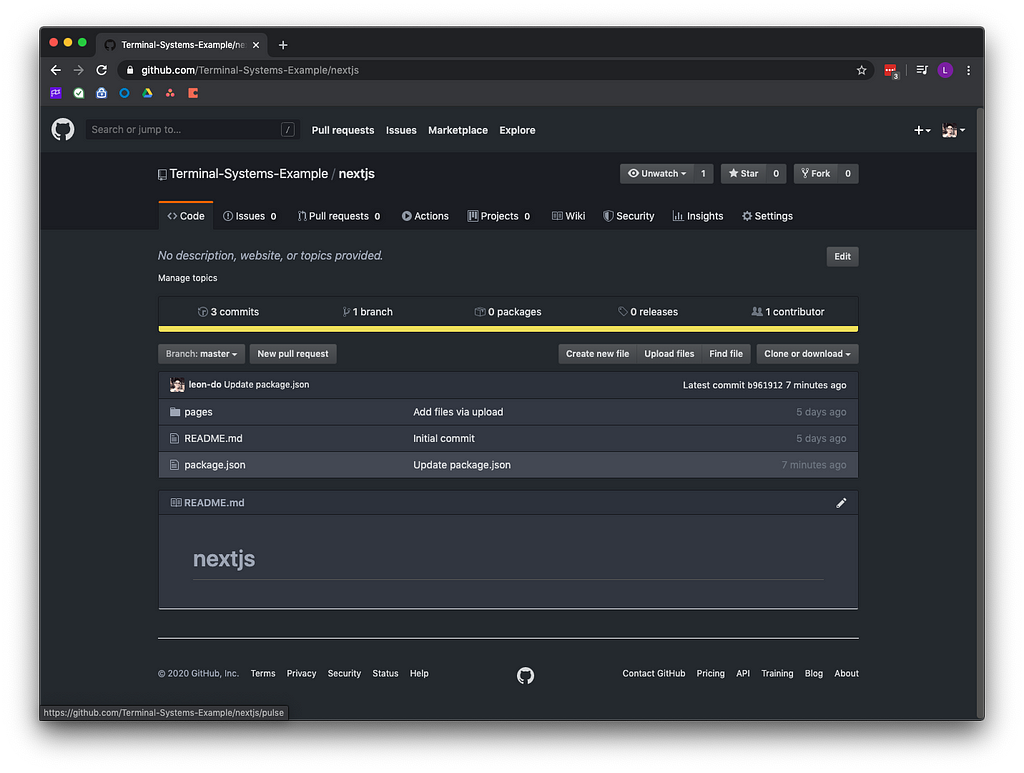
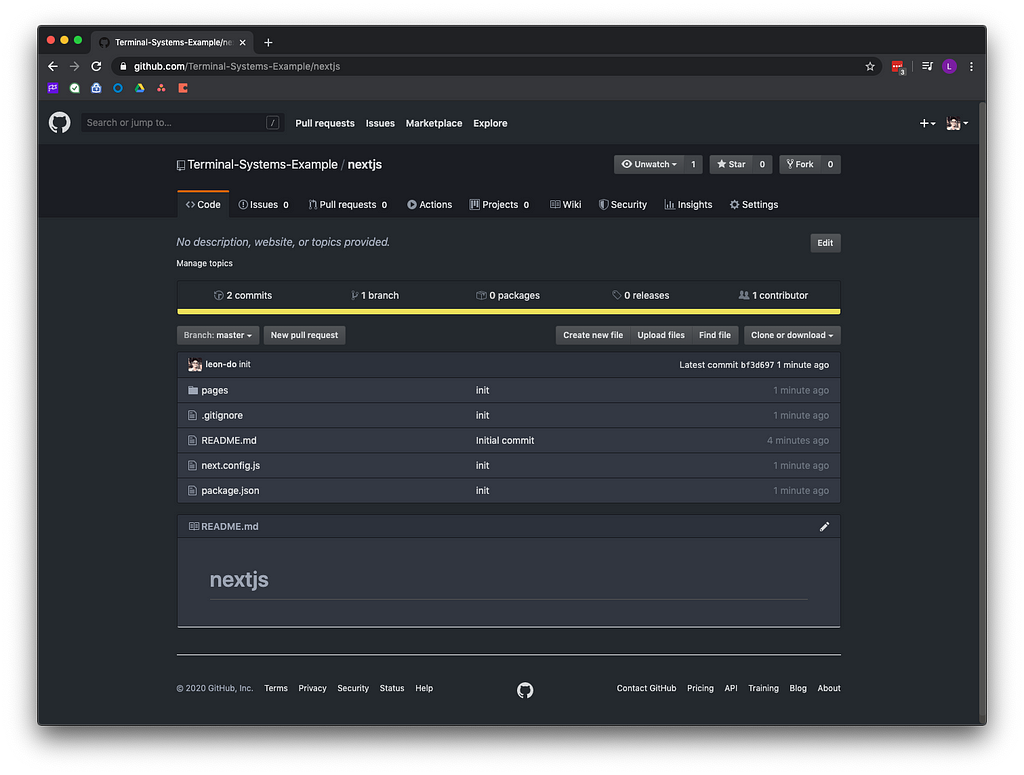
Step 1: Set Up a Repo on Github
Create an empty repository and clone it.
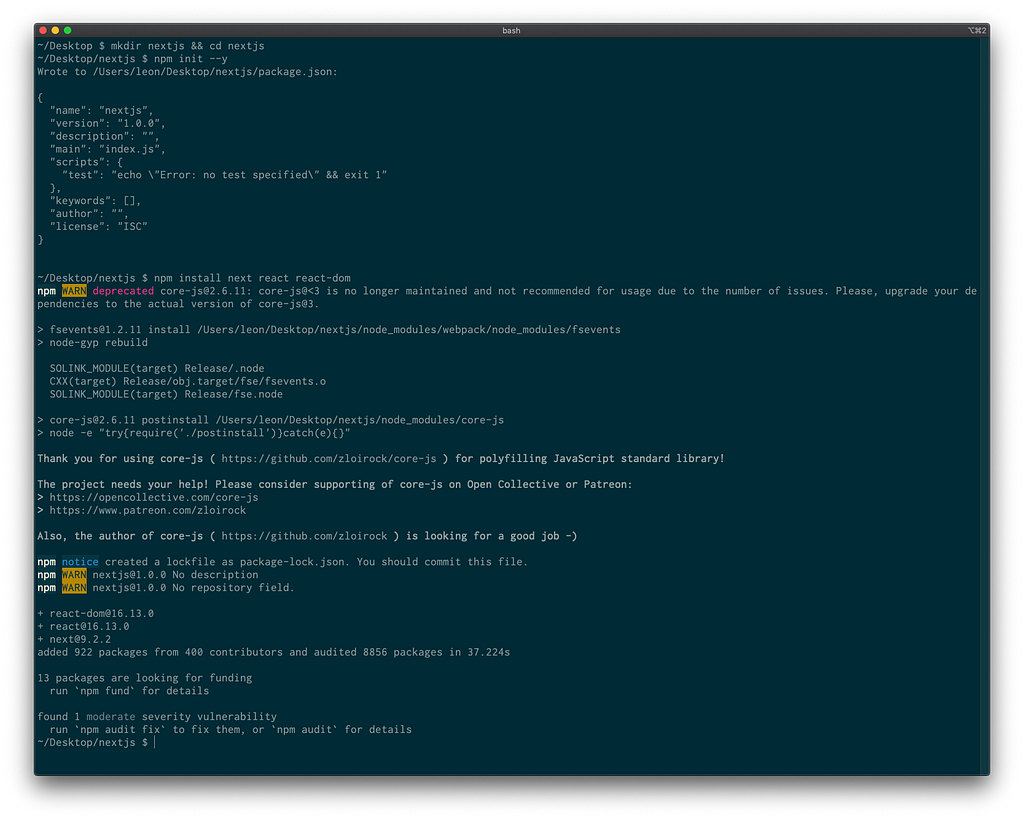
Create a Next.js app using:
$ mkdir nextjs && cd nextjs
$ npm init --y
$ npm install next react react-dom
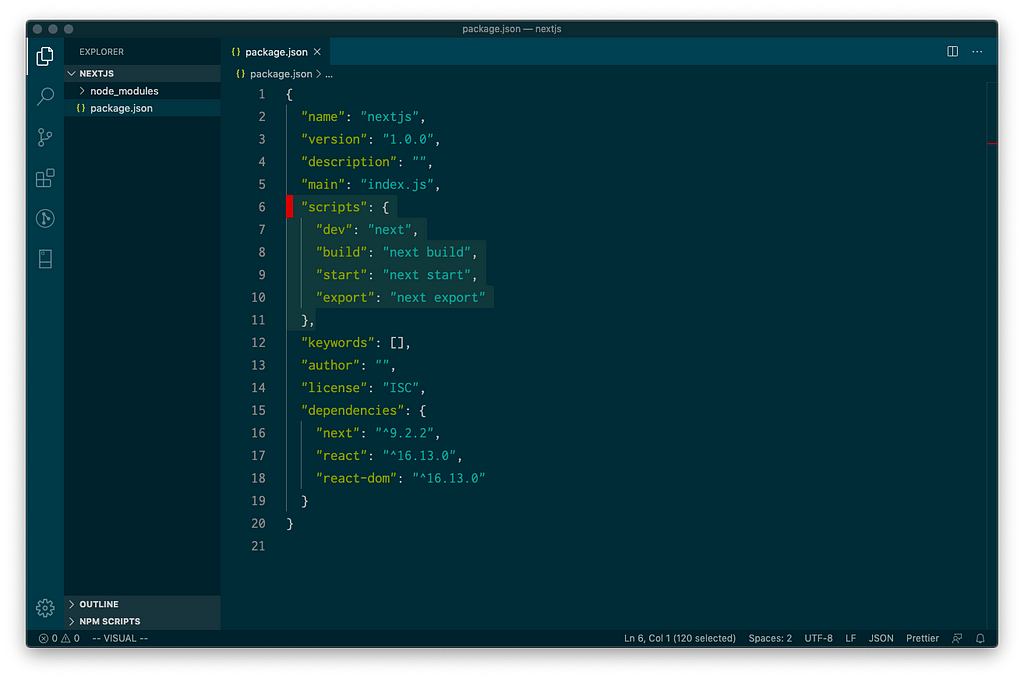
Open package.json and add in the following scripts
"scripts": {
    "dev": "next",
    "build": "next build",
    "start": "next start",
    "export": "next export"
}
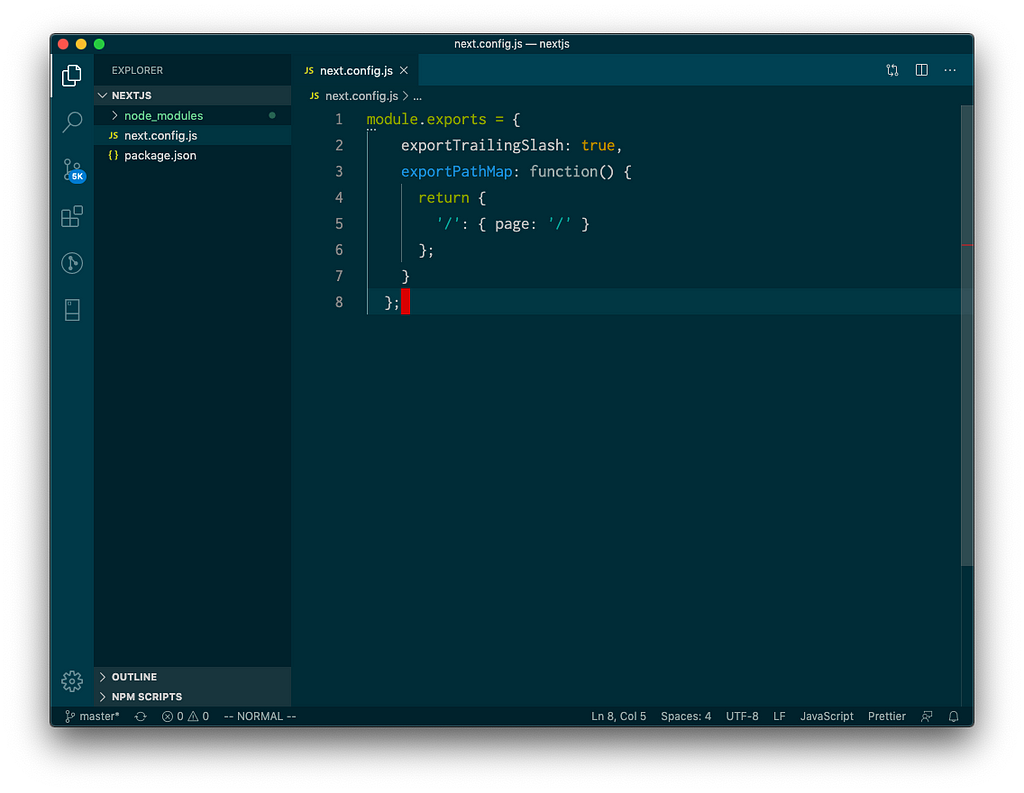
Create a next.config.js file in the root directory
module.exports = {
  exportTrailingSlash: true,
  exportPathMap: function() {
    return {
      '/': { page: '/' }
    };
  }
};
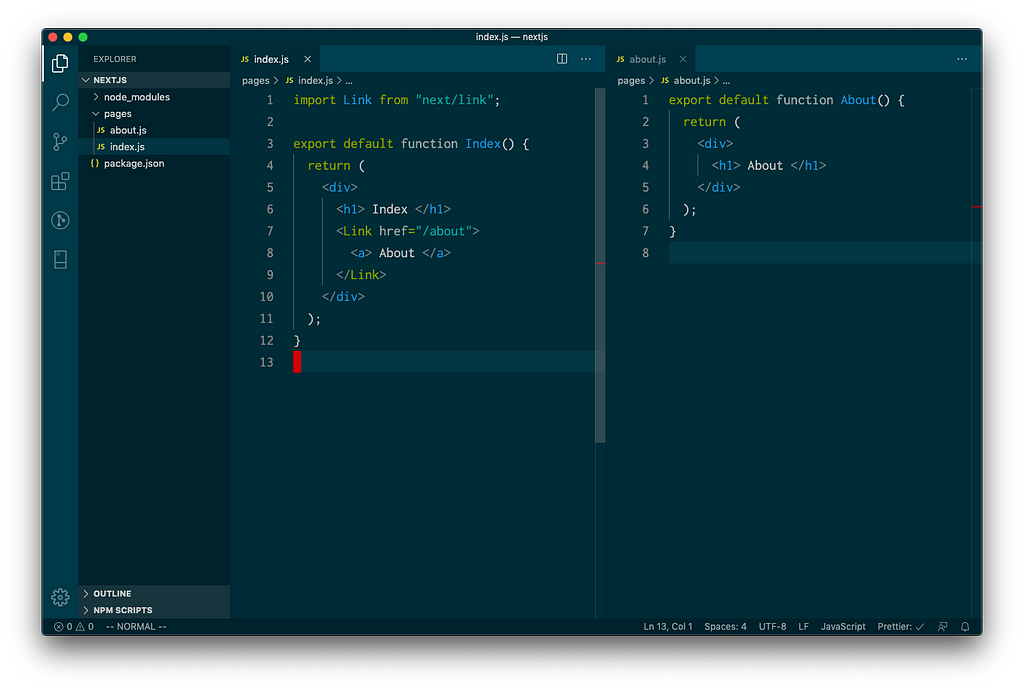
Let’s create some pages:
Create a folder called pages
Inside pages, create index.js
// index.js
import Link from "next/link";
export default function Index() {
return (
);
}and about.js
// about.js
export default function About() {
  return (

       About

  );
}
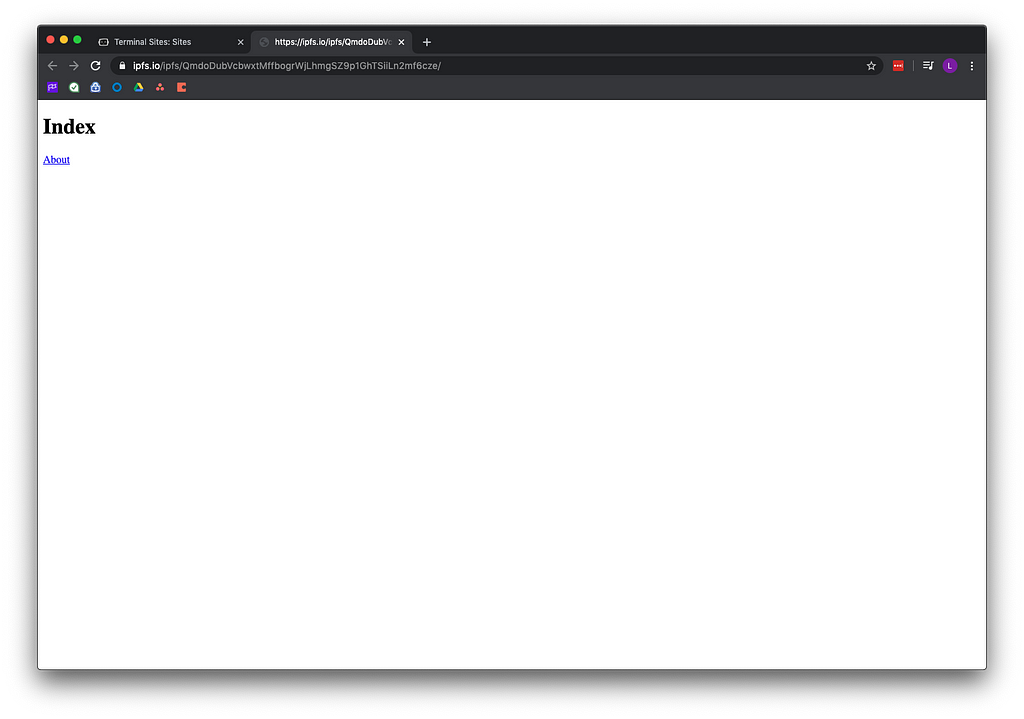
It should look something like this
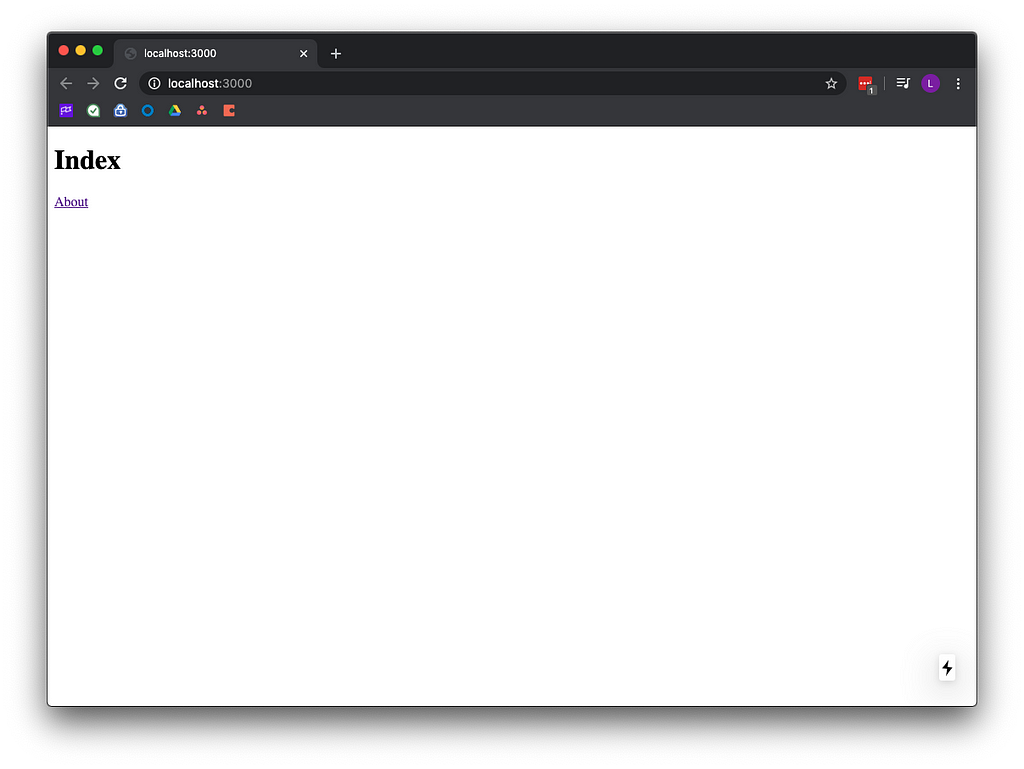
To test, run npm run dev and visit localhost:3000
git add, commit, push
Step 2: Set Up Terminal.co
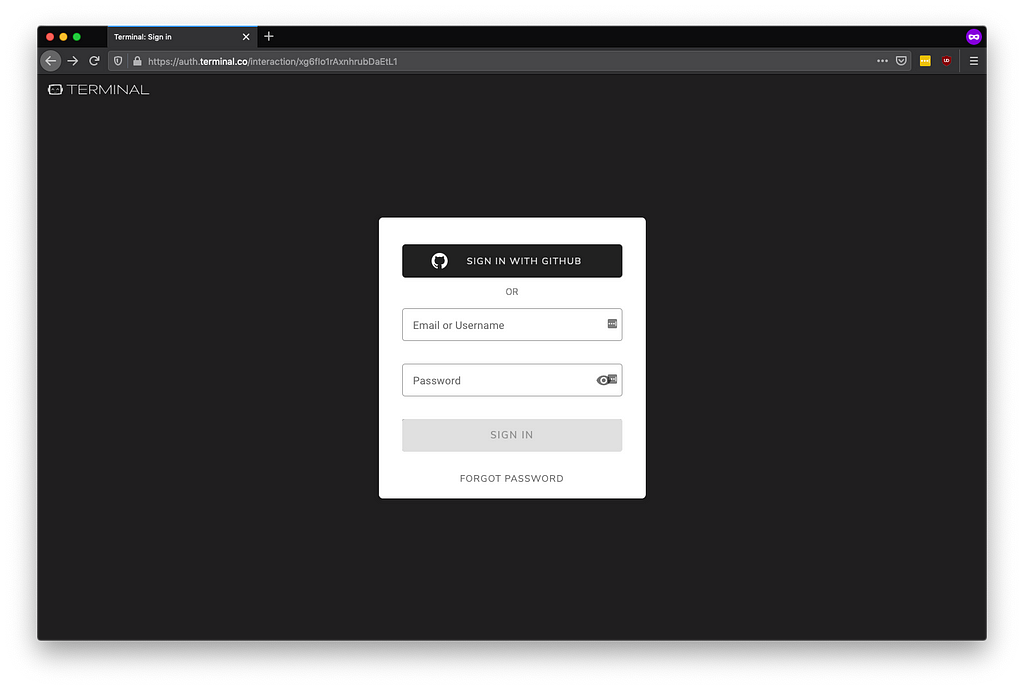
Sign into: https://sites.terminal.co/
Sign in with Github
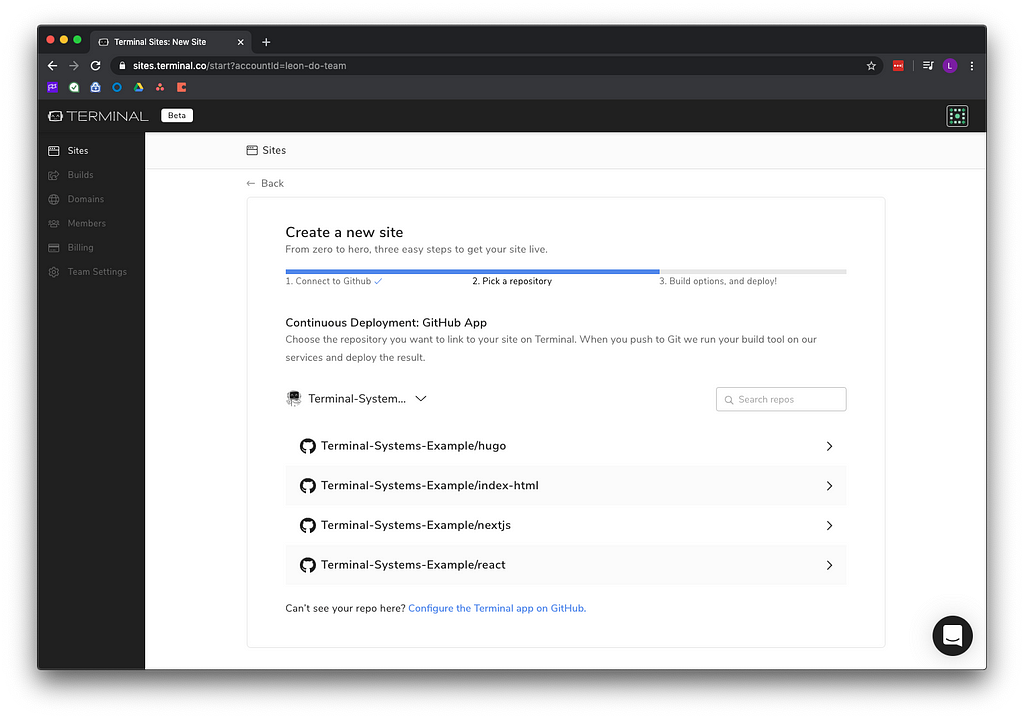
Add New Site
Connect with Github.

Pick your Next.js repository.
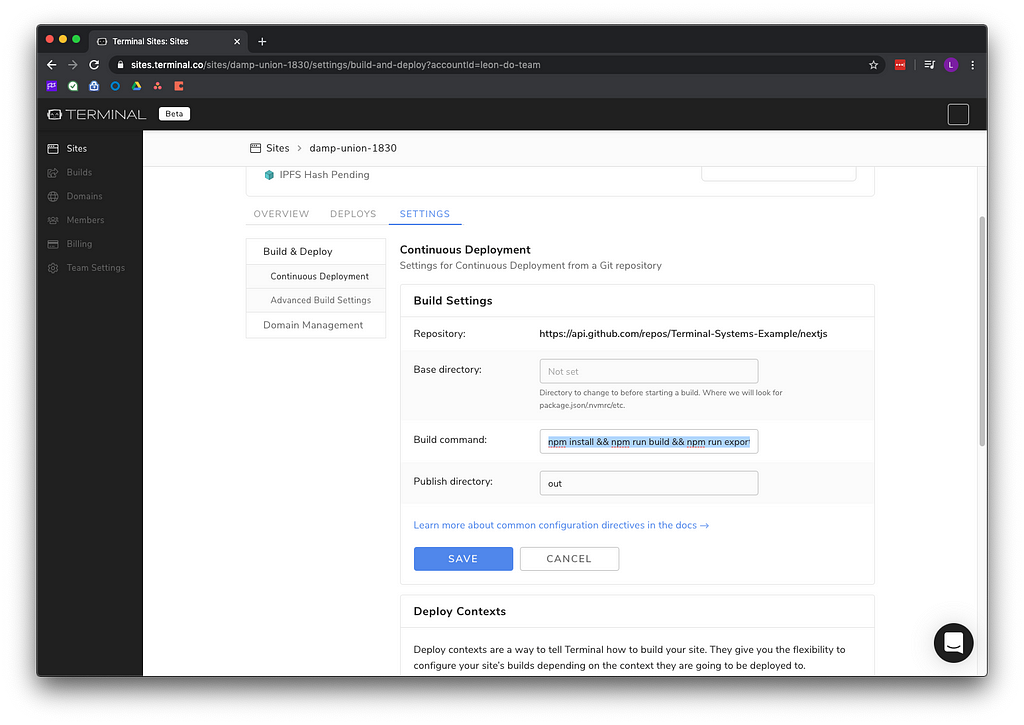
To create a new site:
Build command: npm install && npm run build && npm run export
Publish directory: out
Deploy Site
Once complete, view your website.
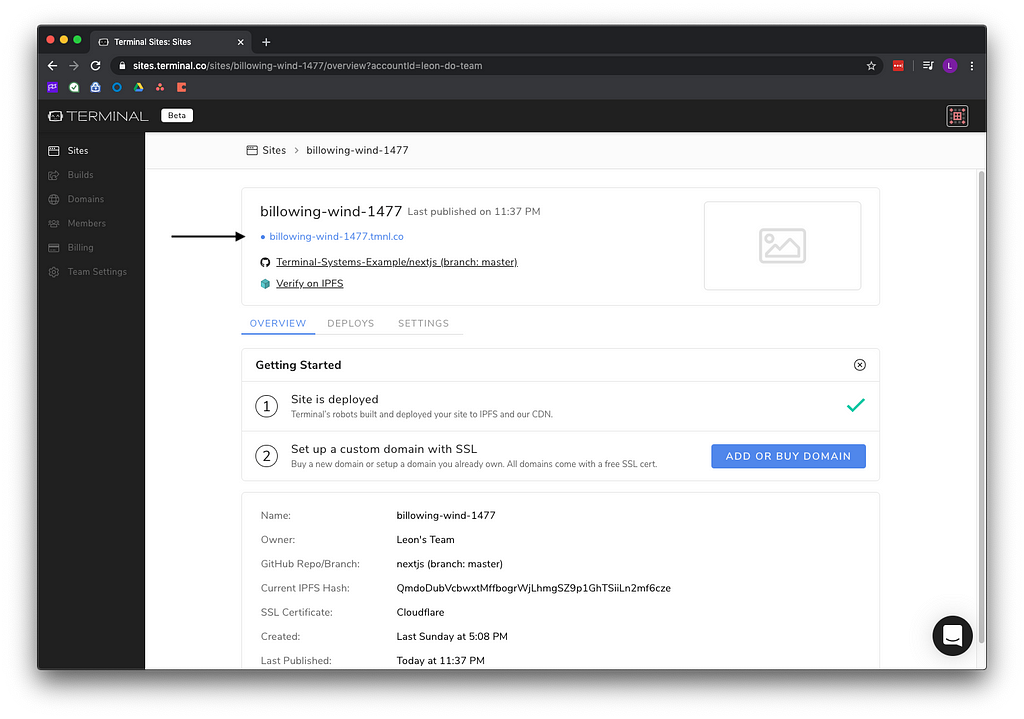
You can view the website using the provided domain name.
https://
Or verify with the CID.
https://ipfs.io/ipfs/
Step 3: Updates
Terminal will automatically redeploy your website whenever you make changes to GitHub. Make sure to provide the domain name will remain the same and will point to the new CID. This enables you to build fast modern websites hosted on IPFS.

Terminal.co + Next.js was originally published in Coinmonks on Medium, where people are continuing the conversation by highlighting and responding to this story.